


Network port is the input port of the computer, all activities such as sending data and receiving data on the computer go through the Port, so how to open Port, below we will guide you to open Port with Windows Firewall in Windows.

What is a network port?
Port is the 16-bit protocol of each file transmitted and received via TCP, UDP protocol. Network port is also called the port that specifies separate data files.
What is the role of network port?
The role of network port includes:
- Identifying the access address of files and services: Each file or service on a device in the network is identified by a unique network port number. Using network port will help other devices in the network to search and access those files or services easily and accurately based on the port address matching the file bit prefix.
- Filter incoming and outgoing packets: Each packet will contain a 16-bit protocol at the beginning of each file. The network port specifies which files are allowed to access the device, and also specifies which files are allowed to leave the device. If the Port address matches the bit beginning of the file, it will help you control and select which packets are safe, which are unknown packets that need to be denied access immediately.
- Prevent harmful intrusions to the device: The network port is like a gatekeeper, protecting the safety of your computer. The port can detect bad packets, containing viruses or malicious code that can affect files and computer systems.
How to open Port with Windows Firewall in Windows?
To open a port in Windows 10, you need to create a custom rule in Windows Firewall. Follow the steps below to create a port opening rule using Windows Firewall.
Open Port for Inbound Traffic (traffic from Internet to server)
- Open Start by pressing the key combination “Window + r” => enter “wf.msc” => OK

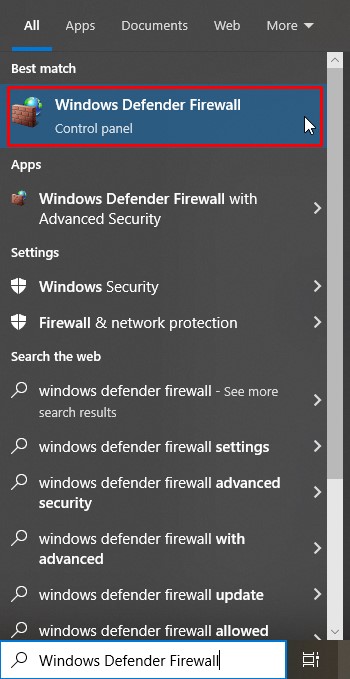
Or search and open “Windows Defender Firewall” from the Windows search toolbar => select Advanced Settings
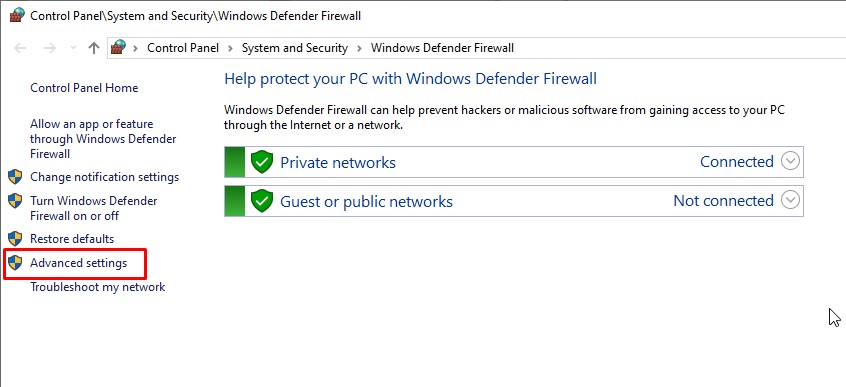
- The Windows Defender Firewall with Advanced Security window appears => Select “Inbound Rules”.

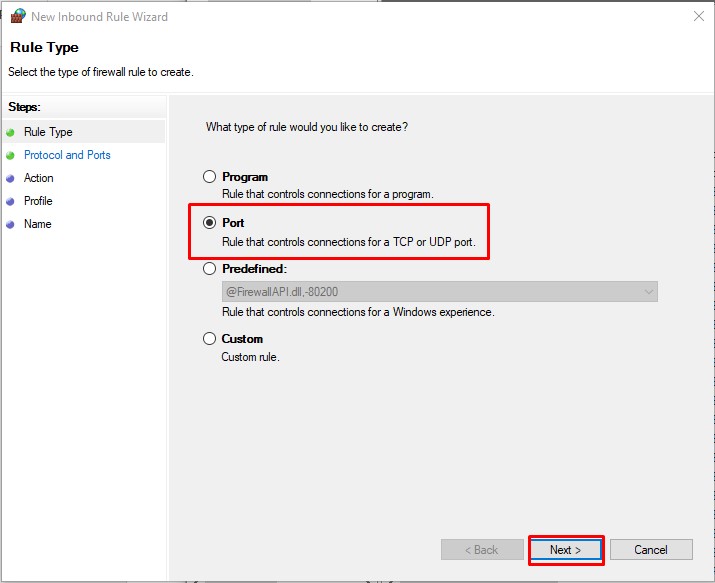
- In the new window, select the Port option => click Next.
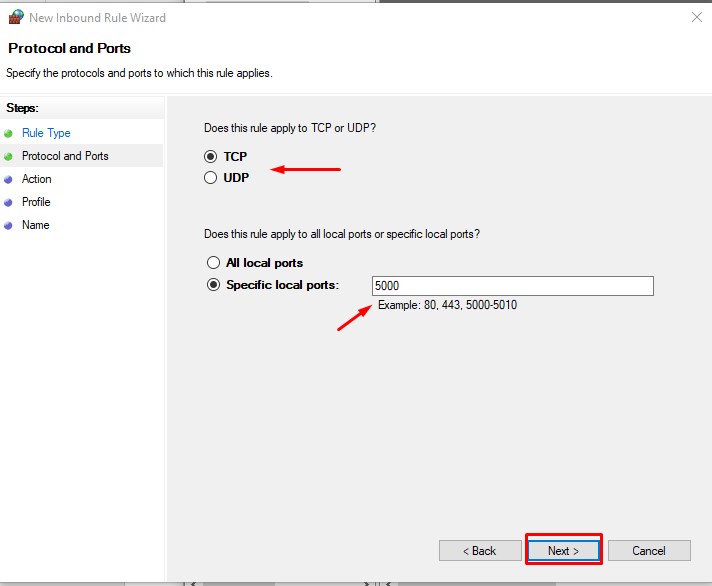
- Select the protocol type of the Port: “TCP” or “UDP”
Select “Specific local ports” and enter the port you want to open => click Next.
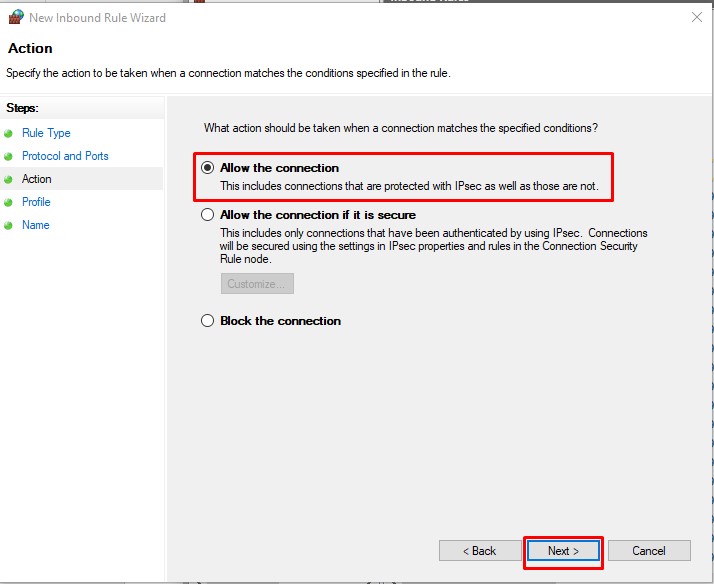
- Select Allow the connection => Next.
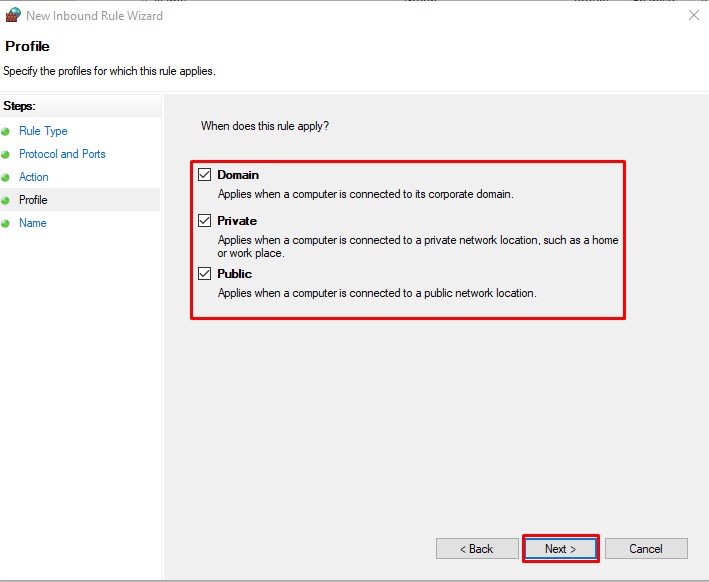
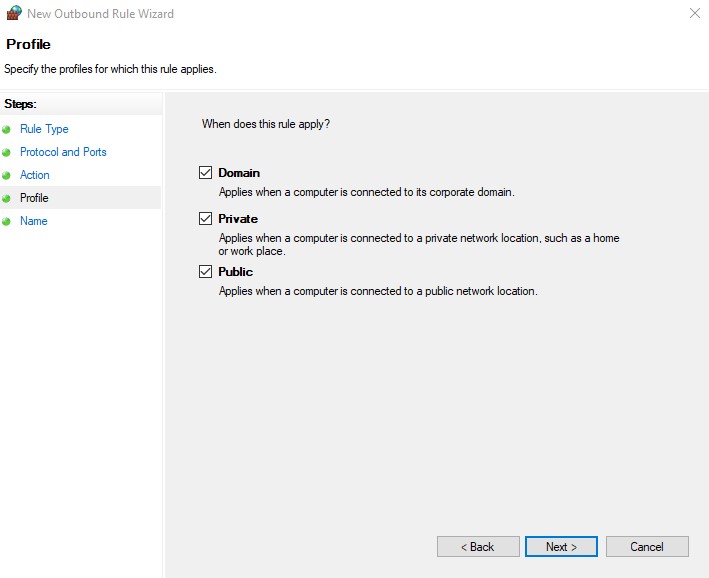
- Select the type of network you want to apply the rule to and click Next.
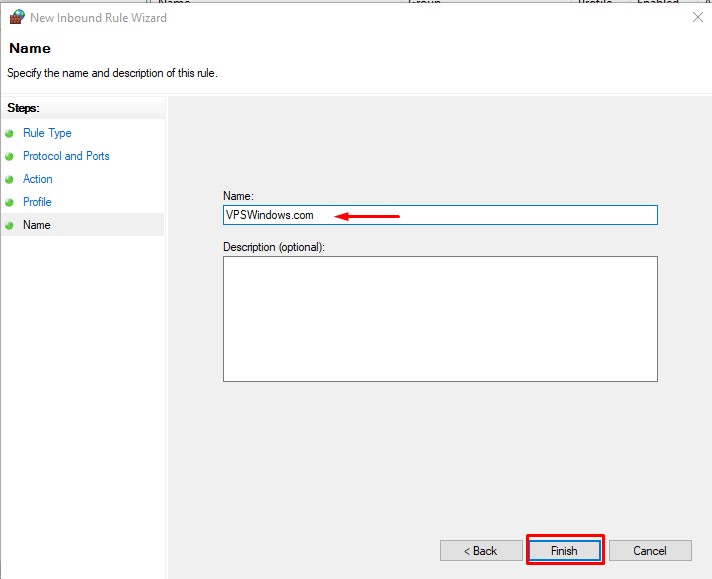
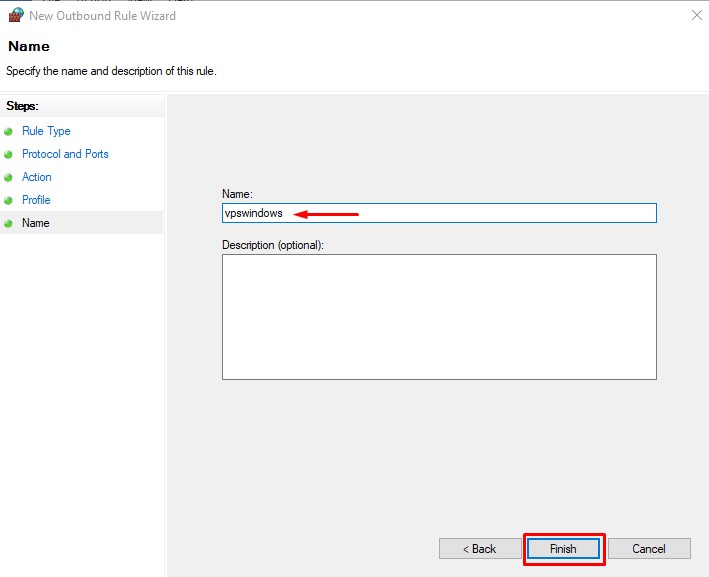
- Name and click Finish to complete
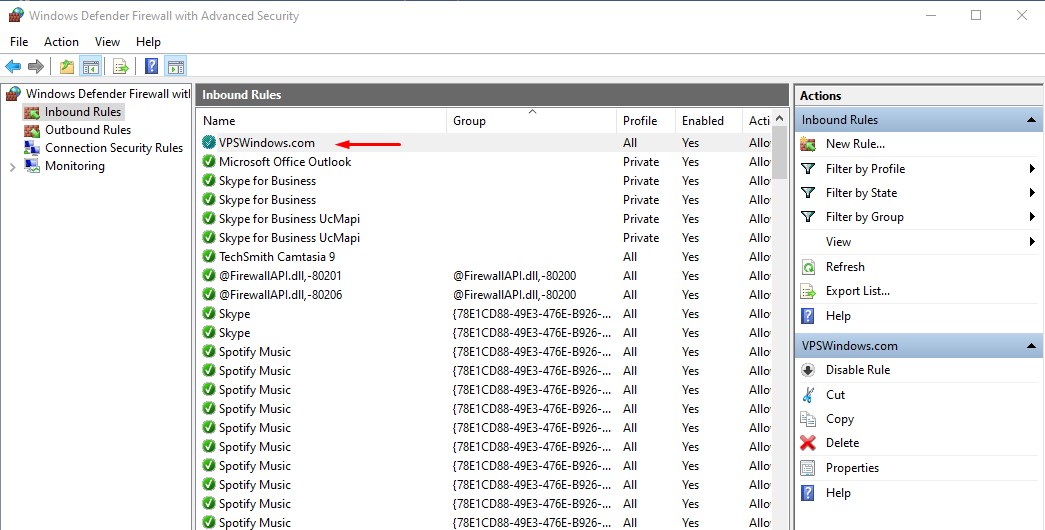
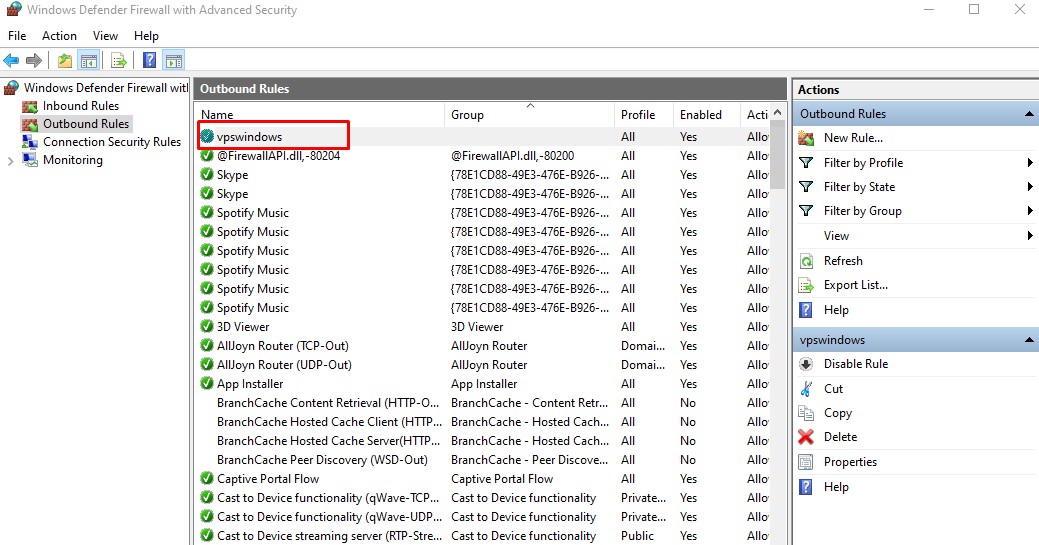
You will see the new rule configured in the Windows Firewall Rules window.
Open port for Outbound Traffic
Similarly, to open a port for Outbound Traffic (traffic generated from Server to Internet), do the following
- Open Windows Defender Firewall as instructed above
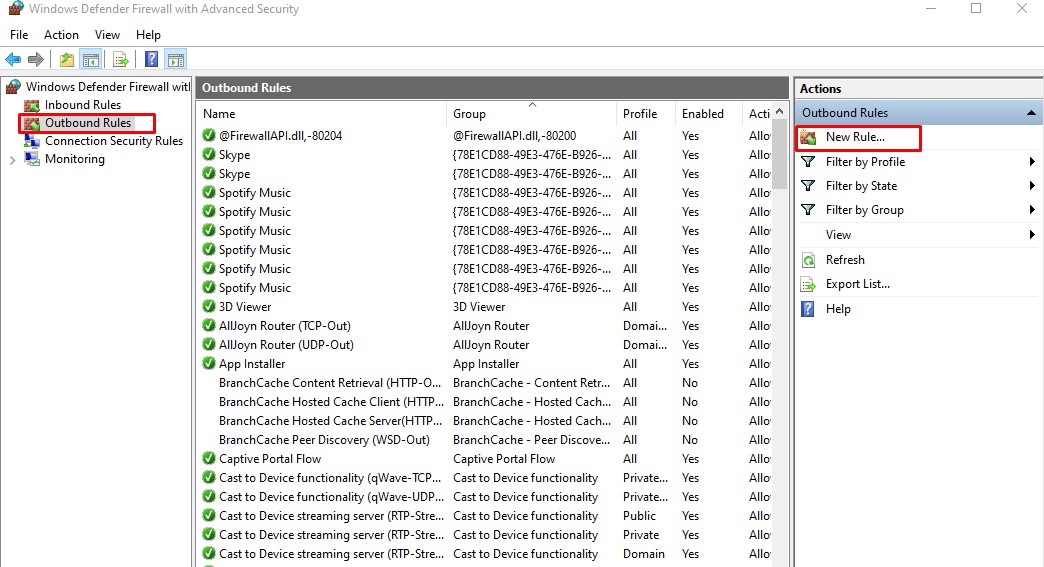
- Select Outbound Rules => New Rule…
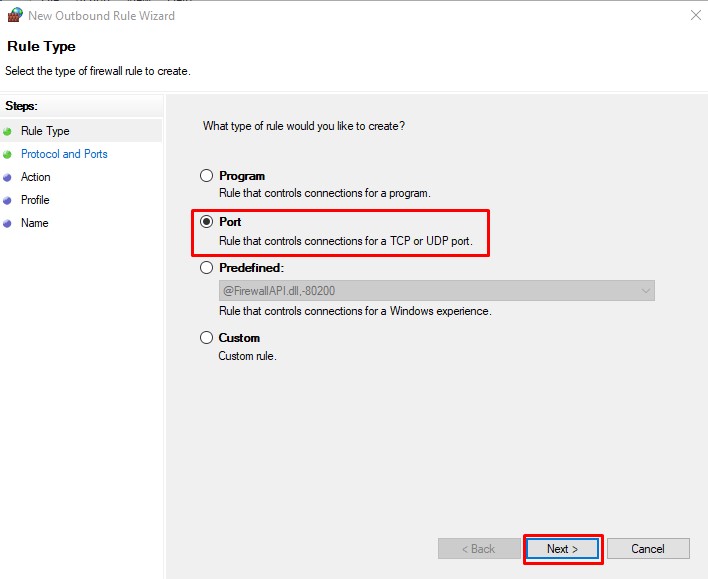
- Select Port => click Next.
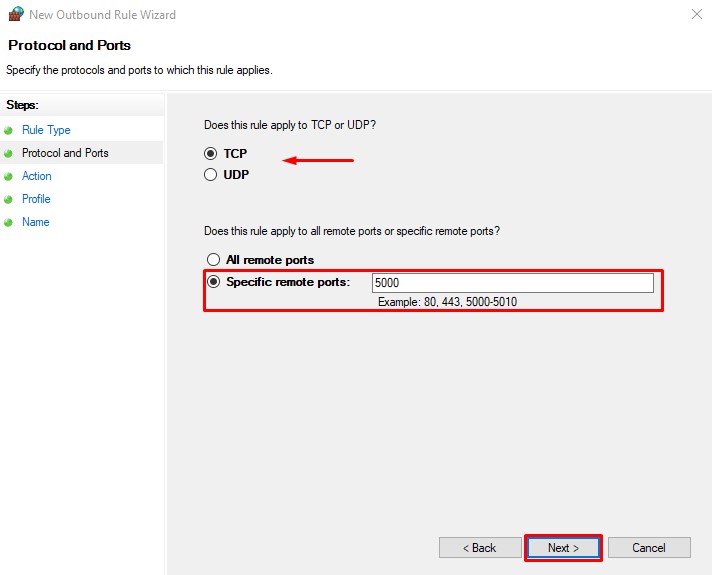
- Select the Port protocol type: “TCP” or “UDP”
Select “Specific local ports” and enter the port you want to open => click Next.
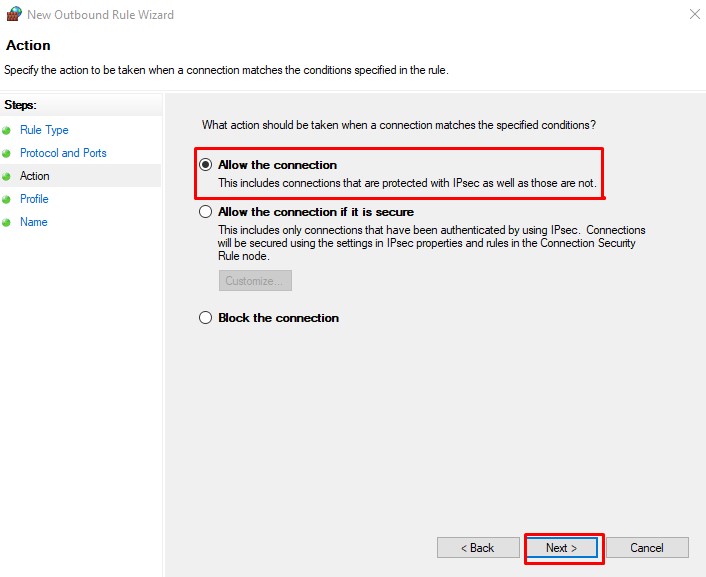
- Select Allow the connection => click Next.
- Select the network type you want to apply the rule to => click Next.
- Name => click Finish to complete.
Disable or delete port opening rules in Windows Firewall
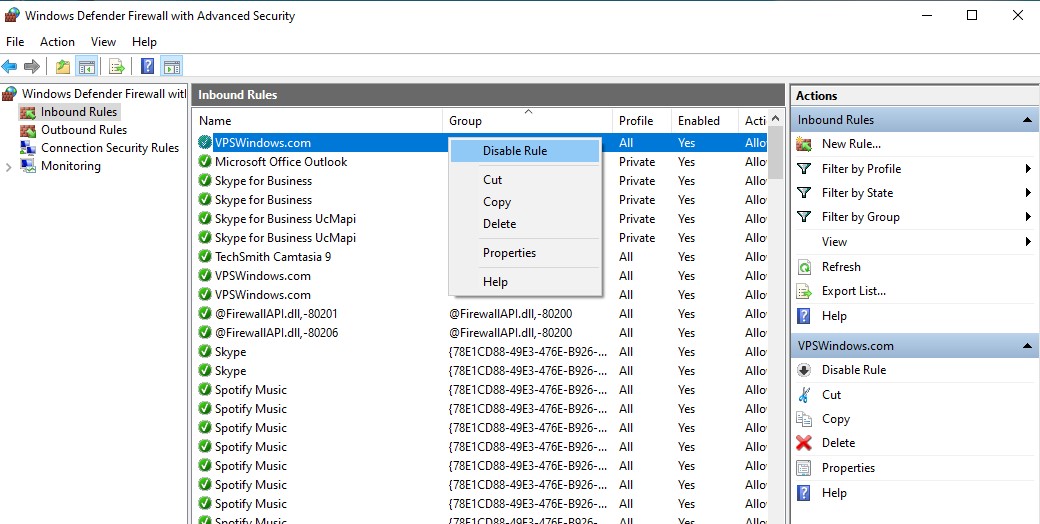
If you no longer need a dedicated rule to open a port, you can disable or delete the rule by right-clicking on the rule you need to operate: select Disable Rule to disable or Delete to delete.
Above is the guide to open Port with Windows Firewall in Windows. Hopefully you can operate on your computer successfully, vpswindows hopes this article will provide you with a lot of useful information, if you have any questions about VPS service, please contact us for advice and register for a free VPS account.