


How to configure Nginx on Ubuntu 22.04 is a common question for developers and system administrators looking to set up a high-performance web server. Nginx is an open-source, lightweight, and scalable web server that is widely used for hosting websites, acting as a reverse proxy, and handling large amounts of traffic efficiently.
Overview
Nginx is a powerful, open-source web server widely used for hosting websites, acting as a reverse proxy, and handling high-concurrency traffic. Its lightweight design and performance optimizations make it a preferred choice for developers and system administrators.
In this tutorial, we will cover Nginx configuration on Ubuntu 22.04, including how to set up virtual hosts and optimize Nginx for better performance. Whether you’re hosting multiple websites or looking to improve server speed, this guide will help you get the most out of your Nginx installation.
If you need a reliable Ubuntu VPS, check out VPSWindows.com. They offer multi-national VPS solutions, full versions of Linux operating systems (Ubuntu, CentOS, Debian), and Windows VPS, making it easier to set up and manage your Nginx server.
Installing Nginx
n our previous article, we provided a detailed step-by-step guide on how to install Nginx on Ubuntu 22.04. If you haven’t installed it yet, you can do so by running the following commands:
sudo apt update
sudo apt install nginx
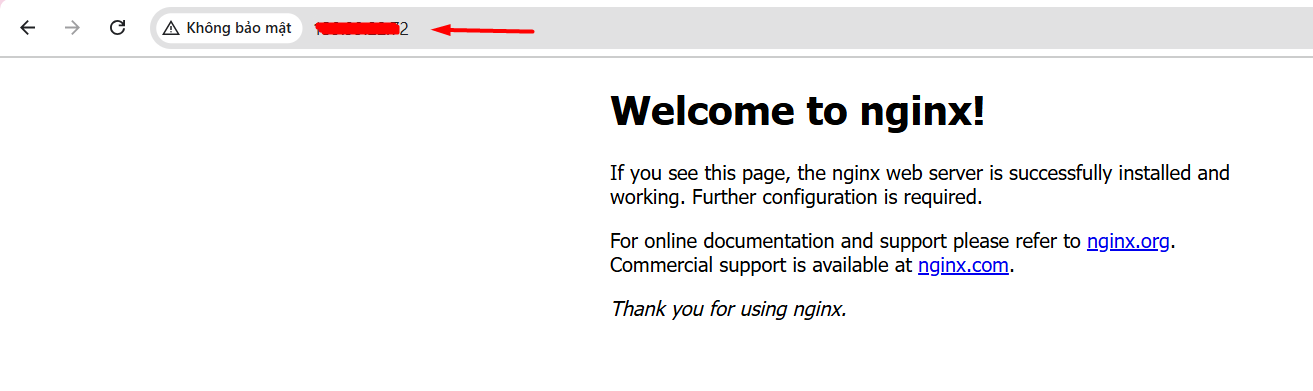
To check if Nginx is accessible, open a web browser and enter your server’s IP address. If you see this page, you have successfully installed Nginx on your web server.
Configure Nginx on Ubuntu 22.04
2. Creating a Custom Website Directory
Before configuring Nginx, it’s best practice to create a separate directory for your website rather than using the default /var/www/html/ location.
Step 1: Create a New Directory
Run the following commands to create a dedicated folder for your website files:
Step 2: Add a Sample Web Page
Create an index.html file inside this directory:
Paste the following content into the file:
Save and close the file. This basic webpage will be displayed once Nginx is configured correctly.
3. Setting Up a Virtual Host in Nginx
A virtual host (or server block) allows multiple websites to run on the same server, making it a useful feature for shared hosting or multi-project environments.
Step 1: Create a New Virtual Host Configuration File
Navigate to the Nginx configuration directory and create a new configuration file:
Paste the following Nginx configuration:
Step 2: Enable the Virtual Host
To activate this configuration, create a symbolic link in the sites-enabled directory:
Step 3: Restart Nginx to Apply Changes
After making the changes, restart Nginx:
Now, open a browser and visit your server’s IP address with port 81:
http://your-server-ip:81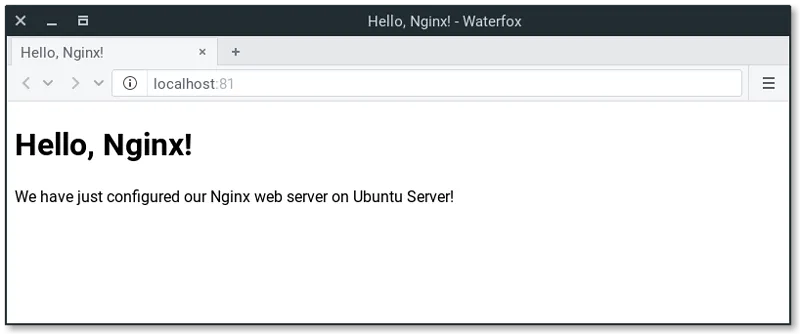
If everything is configured correctly, you should see the “Hello, Nginx!” page. We have just configured Nginx web server.
Optimizing Nginx Configuration for Performance
Once your virtual host is set up, optimizing Nginx can significantly improve speed and resource efficiency.
Enable Gzip Compression
Gzip reduces file sizes, speeding up website load times. To enable it, edit /etc/nginx/nginx.conf and add:
Restart Nginx:
Increase Worker Connections
By default, Nginx has a limit on simultaneous connections. To improve performance, modify /etc/nginx/nginx.conf:
Restart Nginx again:
Enable Caching for Static Files
To improve load speeds, configure caching for static assets inside your server block:
This allows browsers to cache images, stylesheets, and scripts for seven days, reducing repeated downloads and improving page load times.
Conclusion
In this tutorial, we have covered configuring Nginx on Ubuntu 22.04 with a focus on setting up virtual hosts and optimizing performance. By creating a dedicated website directory, configuring Nginx server blocks, and enabling essential optimizations like Gzip compression, caching, and worker connections, your web server will be more efficient and faster.
If you are looking for a reliable Ubuntu USA VPS to deploy your Nginx web server, check out VPSWindows.com. They offer multi-national VPS solutions with full-featured Linux and Windows operating systems, ensuring a smooth hosting experience.
Thank you for reading the article. Follow us for more tutorials on server optimization, web hosting, and Linux administration!