Network performance is a critical factor in ensuring smooth online experiences, whether you’re browsing, gaming, or running a business. Often, slow internet speeds can lead to frustration, and knowing how to check your connection’s speed is essential. Speedtest CLI is a simple yet powerful tool that helps you measure your internet connection speed directly from the command line. This guide will walk you through installing Speedtest CLI on Ubuntu, Debian, and CentOS, how to perform speed tests, and advanced usage tips to optimize your network testing process.
What is Speedtest CLI?
Speedtest CLI is a command-line tool created by Ookla, the same company behind the popular Speedtest.net website. It allows users to test their internet speed directly from the terminal on Linux systems. The tool provides results for three key metrics: download speed, upload speed, and latency (ping), which are essential for understanding your connection’s performance. Unlike graphical speed tests, Speedtest CLI is ideal for automated testing, remote servers, or users who prefer working with the terminal.
Installation of Speedtest CLI on Ubuntu
To install Speedtest CLI on Ubuntu, follow these steps:
- Update your system’s package list to ensure you’re installing the latest available version:
- Install the Speedtest CLI package using the following command:
- Once installed, verify that Speedtest CLI is correctly set up by running:
This should return the installed version of Speedtest CLI.
If you run into issues, make sure that your system is up-to-date or check the official Ubuntu repositories for any potential updates to the tool.
Installation of Speedtest CLI on Debian
Debian users can install Speedtest CLI easily by following these steps:
- Update your package list to ensure you have the latest repository data:
- Install Speedtest CLI with the following command:
- After installation, confirm that the tool is properly installed by typing:
For troubleshooting, ensure your repositories are correctly configured or use the apt-get update command to resolve any issues.
Installation of Speedtest CLI on CentOS
CentOS users should follow these steps to install Speedtest CLI:
- Enable the EPEL repository if it’s not already enabled:
- Install Speedtest CLI using YUM:
- Verify the installation by typing:

If the package is not available in your CentOS version, you can also install Speedtest CLI using Python’s pip package manager by running:
How to Perform a Speed Test Using Speedtest CLI
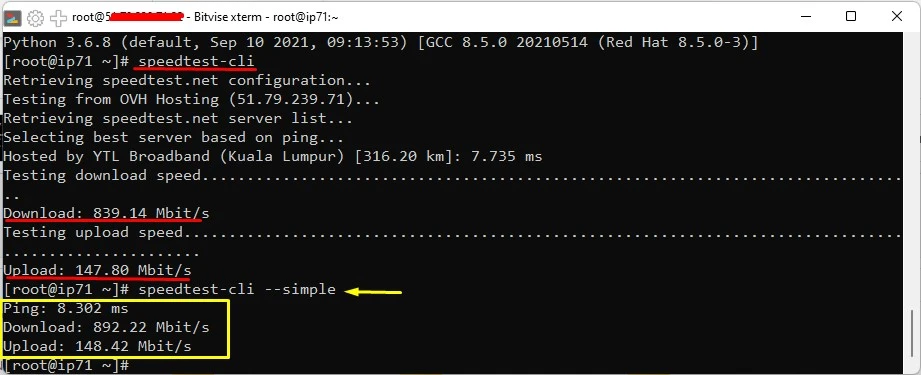
Once Speedtest CLI is installed, running a speed test is simple. Just type the following command:
This will initiate a speed test, and the results will be displayed in your terminal, showing your download speed, upload speed, and latency (ping).
For a more concise output, use the --simple flag:
This will show only the key results, such as:
- Download speed
- Upload speed
- Ping

Understanding Speedtest Results: Download Speed, Upload Speed, and Latency
The results from Speedtest CLI include three key metrics:
- Download Speed: This indicates how fast data is transferred from the server to your device. It is usually measured in megabits per second (Mbps). A higher download speed is essential for activities like streaming videos and browsing the web.
- Upload Speed: This metric shows how fast data is sent from your device to the server. Upload speed is crucial for tasks like sending large files, video conferencing, and online backups.
- Latency (Ping): Latency, measured in milliseconds (ms), is the time it takes for a data packet to travel from your device to the server and back. Lower latency is important for real-time activities like online gaming and VoIP calls.
Advanced Usage of Speedtest CLI: Custom Options and Flags
Speedtest CLI is flexible and offers advanced options for more tailored results. Some useful flags include:
--server <server_id>: This option allows you to specify a particular server for the test. This is useful if you want to test the speed to a specific location.--no-download: Skip the download test if you only want to measure upload speed and latency.--no-upload: Skip the upload test if you only want to measure download speed and latency.--csv: Output the results in CSV format, which is helpful for logging or further analysis.
These options make it easy to automate, analyze, and customize your speed tests according to your needs.
Scheduling Speed Tests with Cron Jobs on Linux
You can automate speed tests to run at specific intervals using cron jobs. To schedule a speed test every day at 8 AM:
- Open the crontab editor:
- Add a new cron job:
This will run the speed test daily at 8 AM and append the results to a logfile for future reference.
Comparing Speedtest CLI with Other Network Speed Testing Tools
Speedtest CLI has several advantages over other popular network speed testing tools. Unlike graphical tools like Ookla’s Speedtest website or Fast.com, Speedtest CLI is ideal for automation and remote server management. Its command-line interface allows it to be used in scripts and cron jobs, making it a powerful tool for administrators and users who prefer working with the terminal.
While tools like Speedtest.net offer a user-friendly interface, Speedtest CLI excels in server environments where graphical interfaces are not practical.
Common Issues and Troubleshooting Speedtest CLI Errors
Here are a few common issues and how to troubleshoot them:
- No Internet Connection: Ensure your network interface is correctly configured and connected to the internet. Check your network settings and use the
pingcommand to verify connectivity. - Server Unavailability: If the default server is unavailable, try specifying another server using the
--serverflag. You can find server IDs by runningspeedtest-cli --list. - Permission Denied: If you encounter permission errors when running commands, try running them with
sudo.
Best Practices for Accurate Speed Testing on Linux
To ensure you get the most accurate results from Speedtest CLI, follow these best practices:
- Run Multiple Tests: Perform several tests at different times of the day to account for fluctuations in network performance.
- Use a Wired Connection: Wi-Fi connections can be subject to interference. For the most accurate results, use a wired Ethernet connection.
- Close Other Applications: Close all other programs that might consume bandwidth during the test to avoid skewed results.
- Test to Different Servers: Run tests to multiple servers to see how your connection performs across different locations.
VPSWindows.com: Reliable, Affordable VPS Linux Services Worldwide
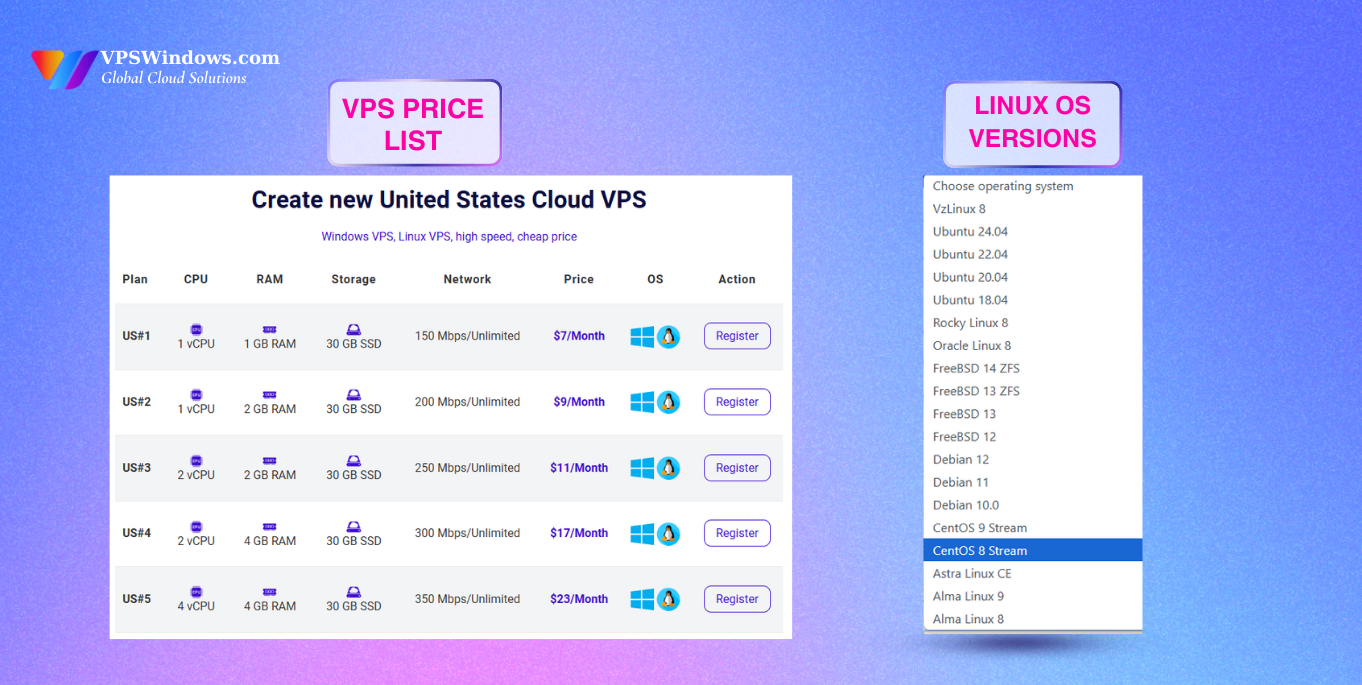
If you are looking for a VPS Linux provider that offers a wide range of operating systems, high performance, and affordable pricing, VPSWindows.com is the perfect choice. With years of experience in delivering VPS solutions, VPSWindows.com ensures:
- Comprehensive Linux Distributions: Support for Ubuntu, CentOS, Debian, and many other Linux distributions to meet the needs of both beginners and advanced users.
- Global VPS Locations: Servers available in multiple countries worldwide, optimizing access speed and network performance.
- Affordable, Reliable, and High-Quality Services: Plans designed to fit all budgets while maintaining high uptime and excellent service quality.

With VPS services from VPSWindows.com, you can easily deploy tools like Speedtest CLI to monitor network speed and operate your system smoothly. Visit VPSWindows.com today to explore the best VPS Linux plans tailored to your needs!
Conclusion
Speedtest CLI is a powerful tool for anyone who wants to measure and monitor their internet connection speed directly from the terminal. Whether you’re a system administrator, a power user, or simply someone who wants to understand their network performance better, Speedtest CLI is an essential tool. By following this guide, you can easily install the tool on your preferred Linux distribution, perform accurate speed tests, and leverage advanced options for more precise control.
Start using Speedtest CLI today to keep track of your network performance and ensure you’re getting the speed you need.


