


Depending on the needs and purposes of the user, choose to rent a Windows or Linux VPS server. Usually Linux will be suitable for programmers with open source code, but setting up and using the initial VPS can be a bit difficult, especially if you are not familiar with using command lines, this article will guide you through 5 Steps to set up initial Linux VPS configuration
What is VPS?
VPS (Virtual Private Server) is a hosting service that uses virtualization technology to provide you with dedicated (private) resources on a server with many users, operating as an online web server that divides resources from the physical server, to create many sub-servers with features and operations like a normal server.
Linux VPS is a type of virtual server that installs open source Linux operating systems such as: Ubuntu, CentOS, RedHat, Fedora or Free BSD
Why do you need to set up when buying VPS
When buying VPS, most providers only help you install the operating system and basic software, if you need anything, you can install it yourself. That means to have a good environment suitable for your work, you need to set up more yourself so that the server is really ready to use.
That is why you need to set up VPS so that you can customize and use it for your own work purposes.
5 Steps to set up initial Linux VPS configuration
Step 1: Access VPS using Secure Shell (SSH)
Prepare a VPS account with Linux operating system installed. When purchasing, you will receive access information from the supplier including:
IP address
Username (usually root)
Password for root account
(root or superuser is an account with full access to a certain computer system. It is similar to an administrator account, but much stronger)
In case you use a Windows computer, you first need to install SSH Client (VPS login protocol for Linux operating system). We often use 2 applications Bitvise and PuTTY
This article uses PuTTY as an example.
Download PuTTY application here, install and open the application to see the main interface of the screen, enter Host name as the IP address of the VPS and select SSH as shown below then press Open.

A new window appears, you need to enter the login information including the root account and the corresponding password: enter root => Enter => enter the password (note that when entering the password, the screen will not change anything, but you should enter it correctly) and press Enter
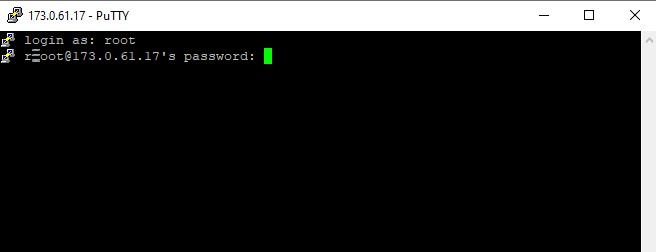
If the information is incorrect, the screen will display “access denied“, if the information is correct, the screen will display the basic parameters of the server, and the quotation marks to enter additional command lines as below:
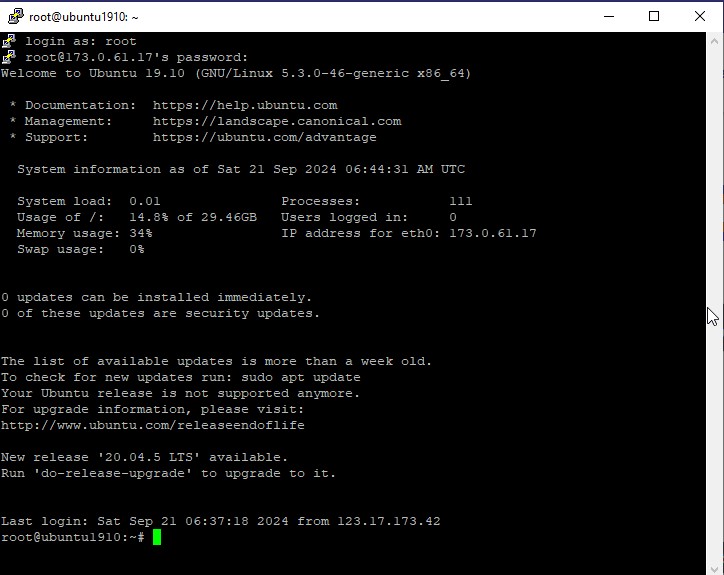
Here you have completed the first step of setting up VPS.
Step 2: Update the server
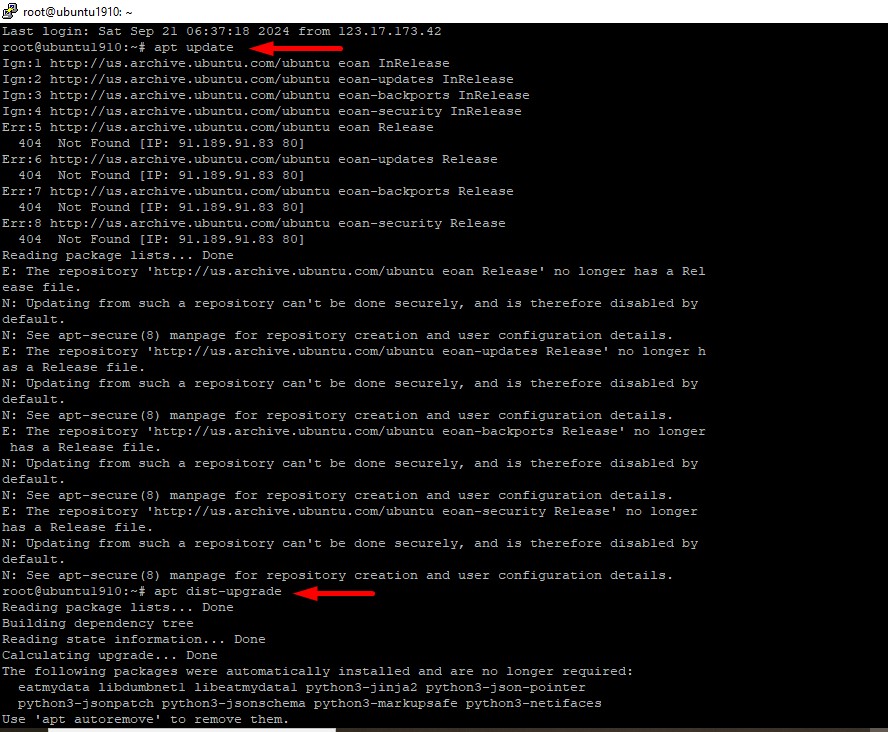
Once logged into VPS. You will see a notification that there are any update or security packages available to download, update the software by using the apt update command then press Enter, the software will automatically check to see if there are any items that need to be updated, after completing, enter apt dist-upgrade => Enter to update the new software packages of the server.
This process will take a while, when finished, restart the server using the reboot command. Close the window, Wait 1- 2 minutes and use PuTTY to reconnect to the server as before.
Step 3: Create a new user and assign permissions to it
When you are given a VPS, you will usually have a root user first, which is the account you are still using. However, for long-term use, you need to create another account with superuser rights.
The reason is because the root account can damage the server if you accidentally do something wrong. The root account has full authority over the server’s infrastructure, so just one wrong command can cause the entire server to be damaged and not work.
A normal user with superuser, on the other hand, you need to add sudo command before each command to run commands that require system-related rights. This is just a small difference but can make a huge difference. Because with this way of operating, you will need to pay attention, and pay more attention each time you issue a command with the sudo prefix, it will help you avoid serious errors.
Go ahead and fill in the following command, where yournewusername is the username you want to create:
adduser yournewusername

Then fill in this command to assign this user to the sudo group, which is the superuser privileges (remember to replace yourusername with the username you just set above):
# usermod -aG sudo yournewusername
Now, all you have to do is reset the password for this account. However, there is a more secure method using a password that we should use now, we will show you the following steps..
Step 4: Enable Public Key Authentication
Public key authentication is a technique that is considered much more secure than a regular password. With this method, you create a pair of public and private key.
Your server will contain the public key and use it to authenticate with the private key, which only you have access to on your computer. Once you have set up public key authentication, you will need both your private key and a password to log in, adding an extra layer of security to your server.
To generate an SSH key in Windows, you can use the PuTTYgen app, which was installed in the previous step.
Open the PuttyGen app (in the applications just installed on your computer), you will see the following screen:
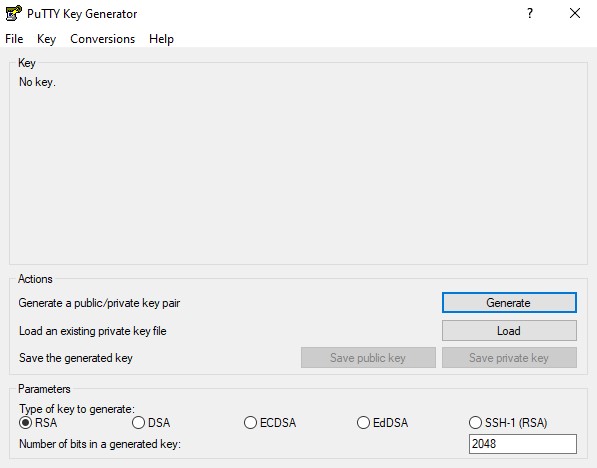
You can leave the default value, and immediately press the Generate button, move your mouse around the screen to run the installation process.
Then, the screen will display this key for you, set a password to open it:
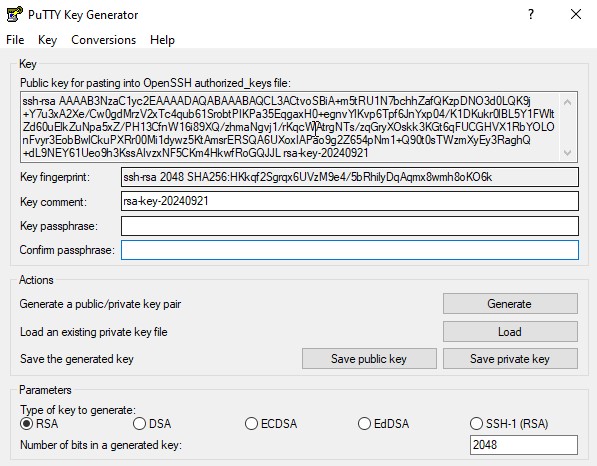
Now, press the Save private key button, save the resulting file to your computer. You will need to copy the public key at this point, so close this window.
Now, go back to the server with the original root privileges, go to the account’s home directory with the command
# su – yournewusername
Next, you need to run the following commands in sequence, which will create a directory for your public key, limit the permissions of that directory, and save your key:
mkdir ~/.ssh
chmod 700 ~/.ssh
nano ~/.ssh/authorized_keys
(the command opens the Nano editor, used to edit and insert content into authorized keys on the server). Now you can paste the public key content into the command line window.
When you’re done pasting, press CTRL+X to close the editor, press Y when prompted to confirm, and then type the following two lines:
chmod 600 ~/.ssh/authorized_keys
exit
These lines will change the permissions of the file you just edited, and then return you to the root user.
Next, you need to configure PuTTY to use the private key when you connect to the server so it can recognize you. To do so, go back to the main screen of the application and go to the Connection › SSH › Auth section. There, you will find a field called Private key file for authentication:
Click Browse => select the Private key file saved on your machine.
Finally, you need to tell the server that you want to disable password-only authentication for the new user you just set up by logging into the server via SSH and running the following command:
sudo nano /etc/ssh/sshd_config
This will open the sshd_config file using the Nano editor. Look for the line that says PasswordAuthentication in that file, and remove the # sign in front of it. Change the value from Yes to No: PasswordAuthentication no
Save the changes, and restart the server. The next time you log in, you will need to use your private key and password.
Step 5: Set up a firewall for your VPS
Setting up a firewall is an important step in keeping your server secure.
You can enable the firewall with any software you want, for example iptables, it will help you set up rules and limit traffic to and from the server, you can limit which ports are enabled to access the server. It will limit traffic from attackers.
Above are the 5 Steps to set up initial Linux VPS configuration. Hope you can operate on your computer successfully, if you have any questions about VPS service, please contact us for advice and register for a free VPS account.